Comic Page Inking! Thor vs. Taskmaster

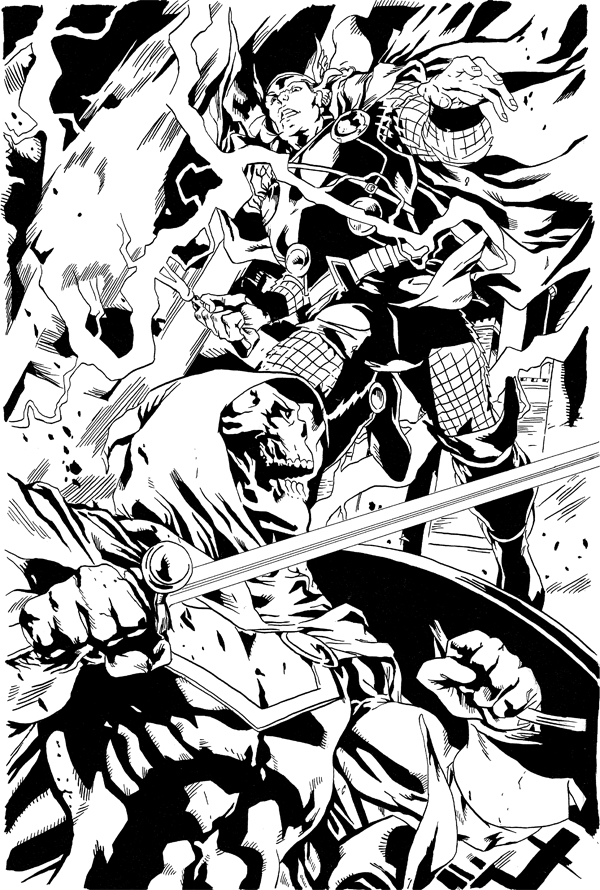
Thor & Taskmaster ink drawing

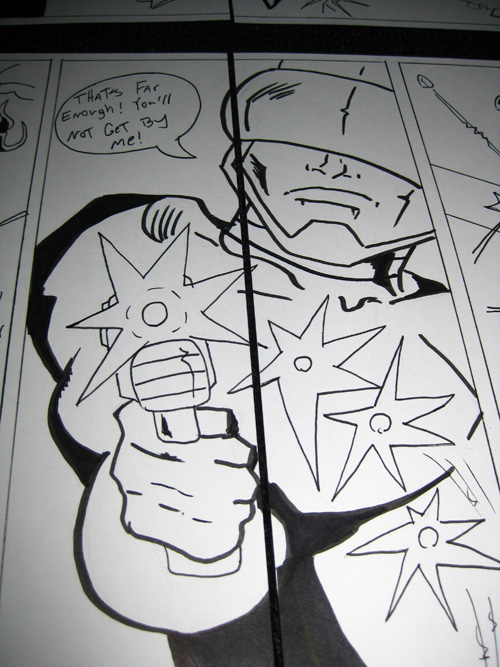
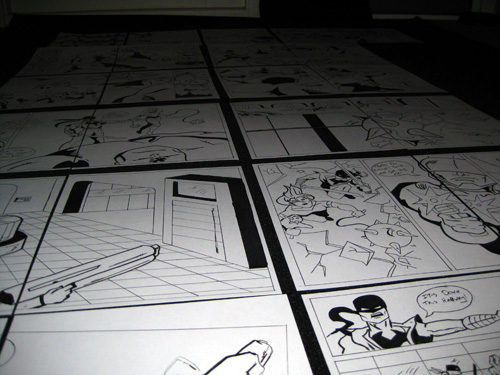
Comic Page Inking – Thor vs. Taskmaster

I’ve recently started to enjoy inking with pen and ink. In the past, I’ve focused on inking digitally using either Adobe Photoshop or Illustrator. But I decided to tackle inking in the physical world. I have found inking with pen and bush to be more satisfying to me personally. I still believe that digital inking is a great technique. But for the time being, I will try to sharpen my skills in more traditional ways. My tools of choice have been a 102 nib pen and a size 4 sable brush.

I’ve been inking my own work, and that has been a great experience.  I’ve decided to try inking other comic artists’ work too. My hope is that this will help me learn new creative approaches to comic art. I looked all over for a penciled piece I’d like to ink, then I found this super awesome piece of Thor vs. Taskmaster by comic book artist Mahmud Asrar. It comes from Avengers: The Initiative #32 Page 4. I found this on Mahmud’s DeviantArt page. I had fun inking these pencils. I will definitely be inking more comic pages in the future. – Shazam!

This blog post was originally published on my former website, Comic Book Graphic Design and has now been migrated here to RSC Arts, Artist Blog.
24 Hour Comics Day 2009

24 Hour Comics Day 2009

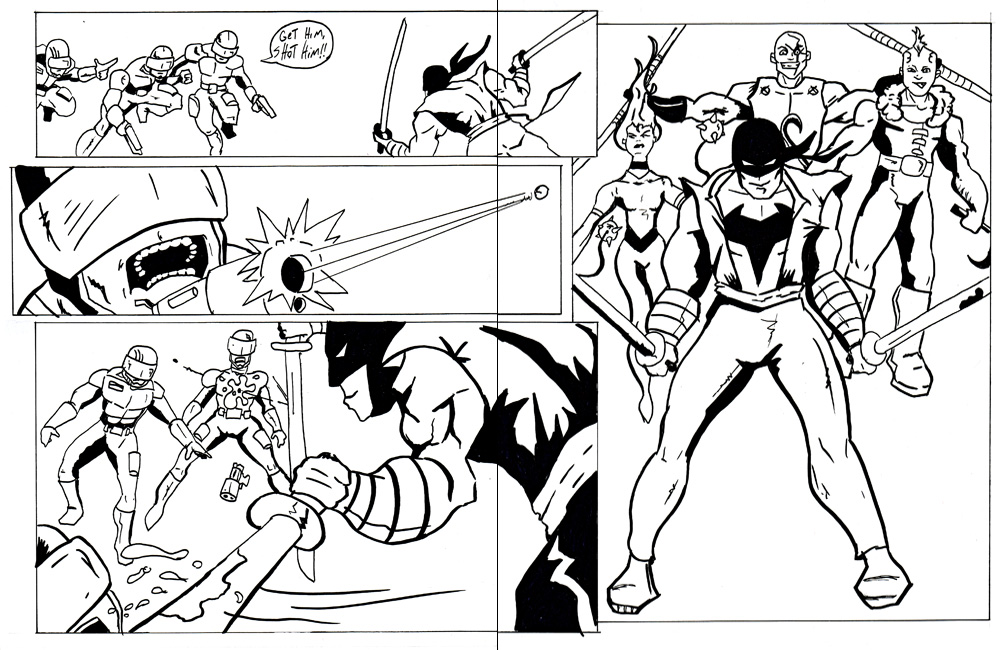
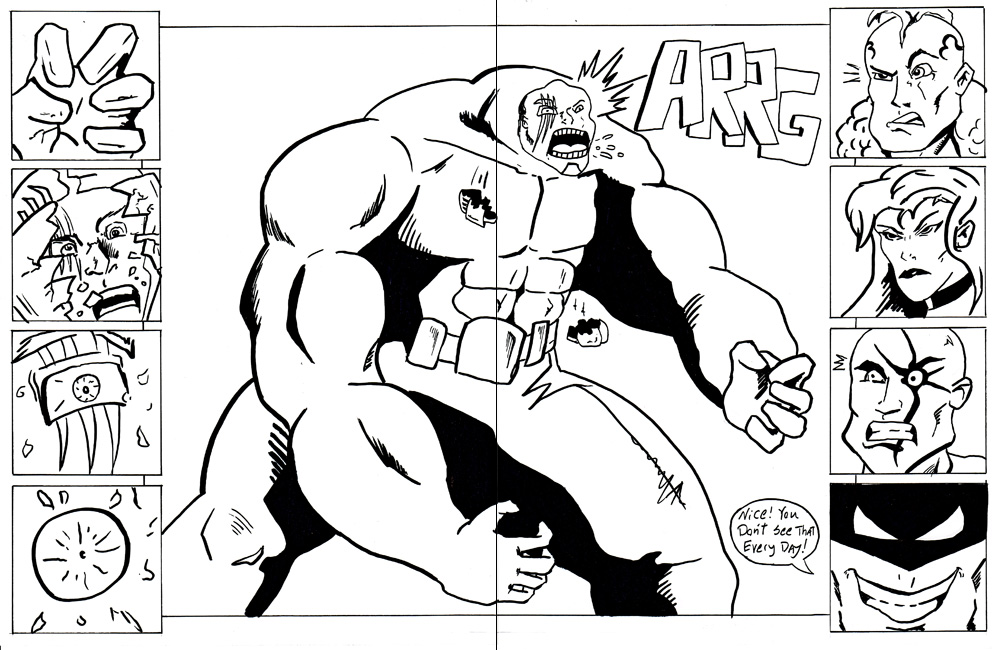
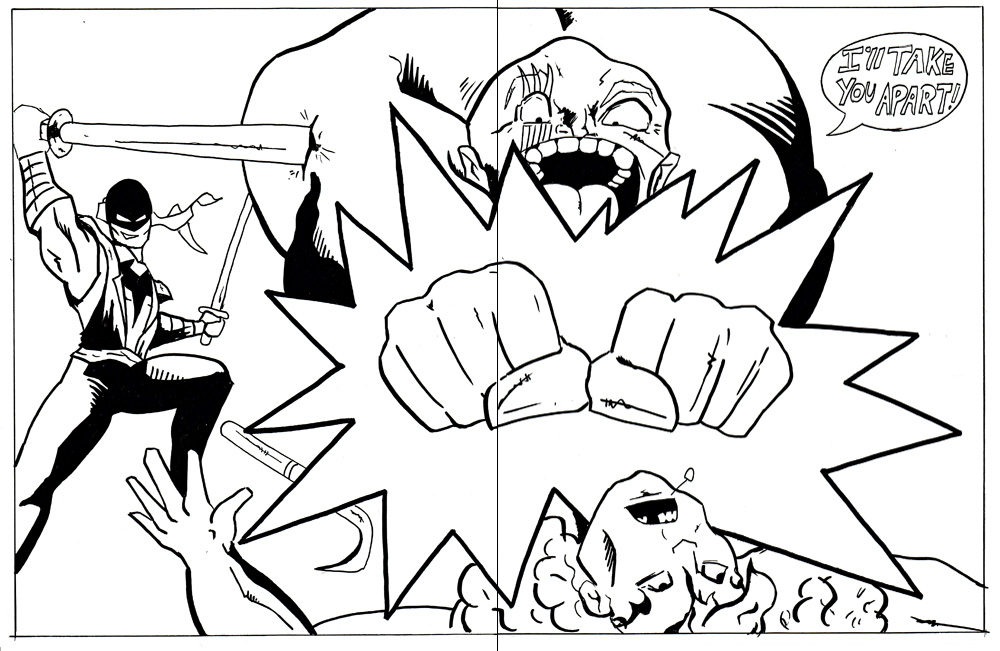
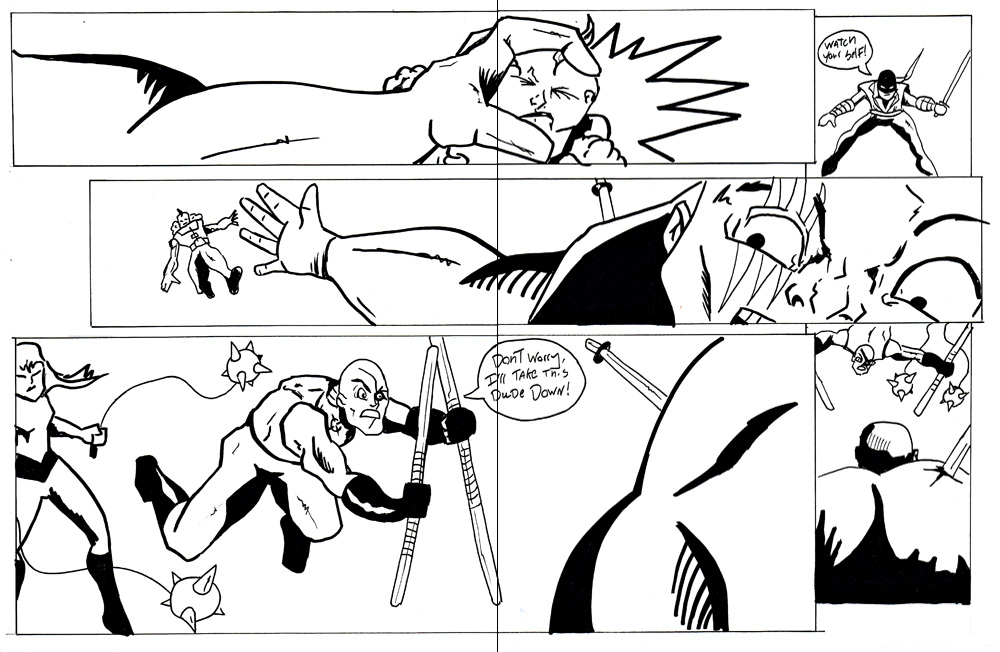
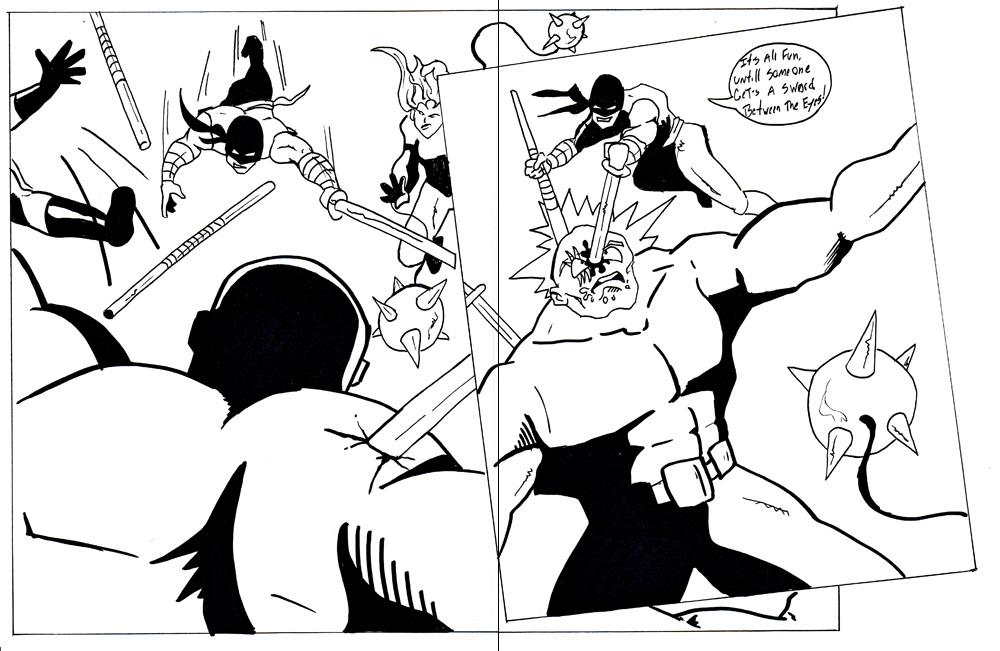
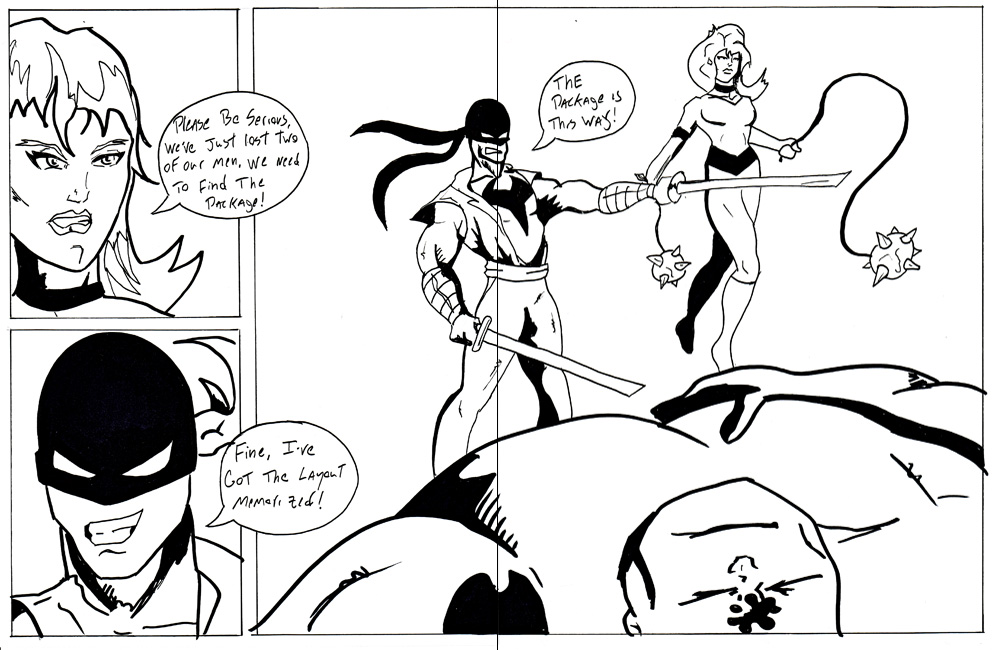
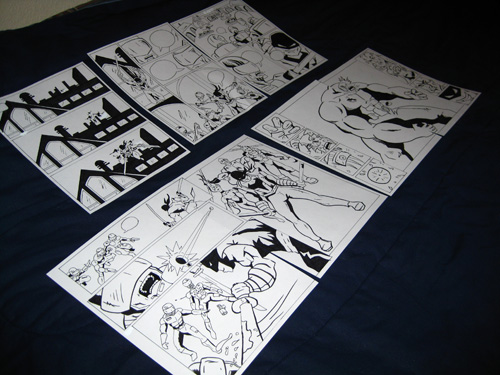
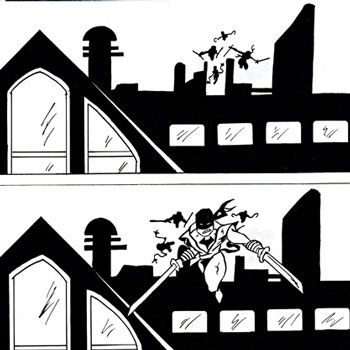
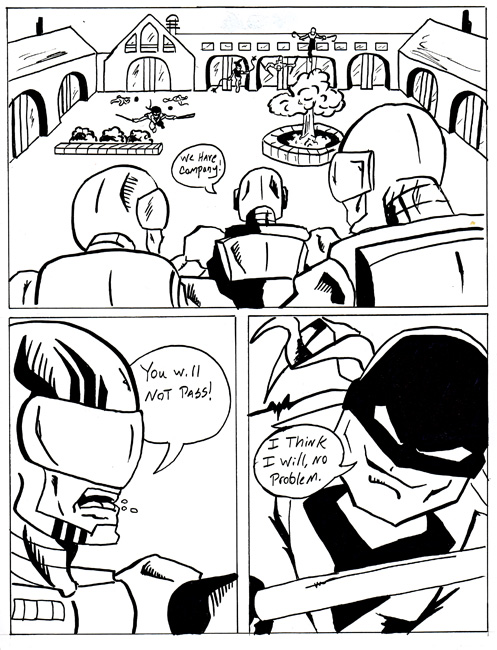
This year I participated in the annual 24-Hour Comic. The challenge is to create 24 pages of a comic book within 24 hours. This was the second time I’ve done it. I really had a great time doing it too. At times it felt like I wasn’t going to finish, but I did…..with 3 minutes to spare. It has been a very popular and fun exercise for both writers and artists. The idea is to come up with no preconceived notions of what you’re going to create, and make a 24-page comic!

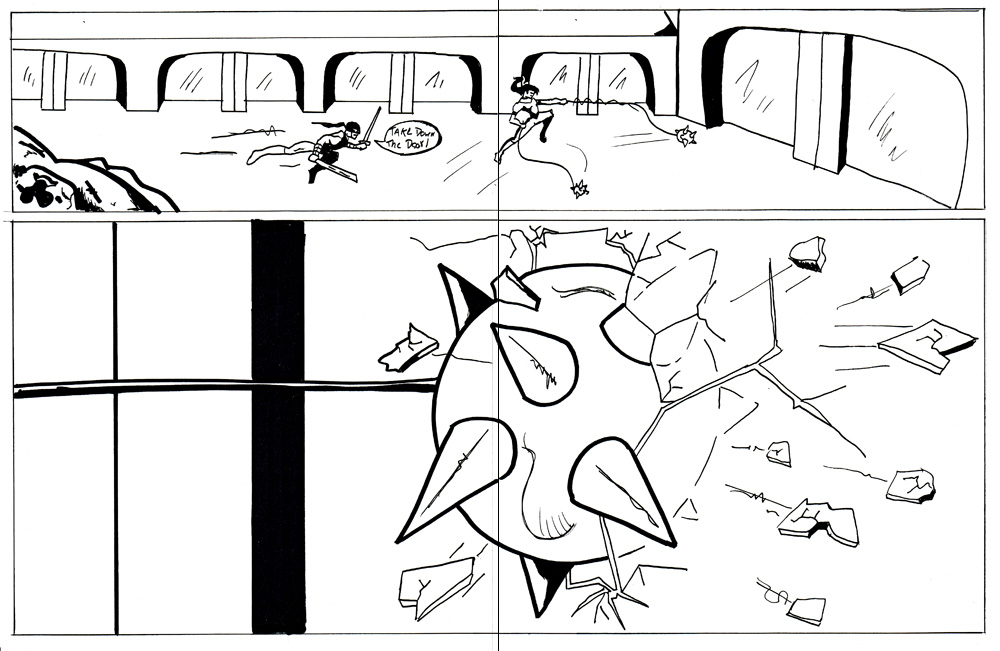
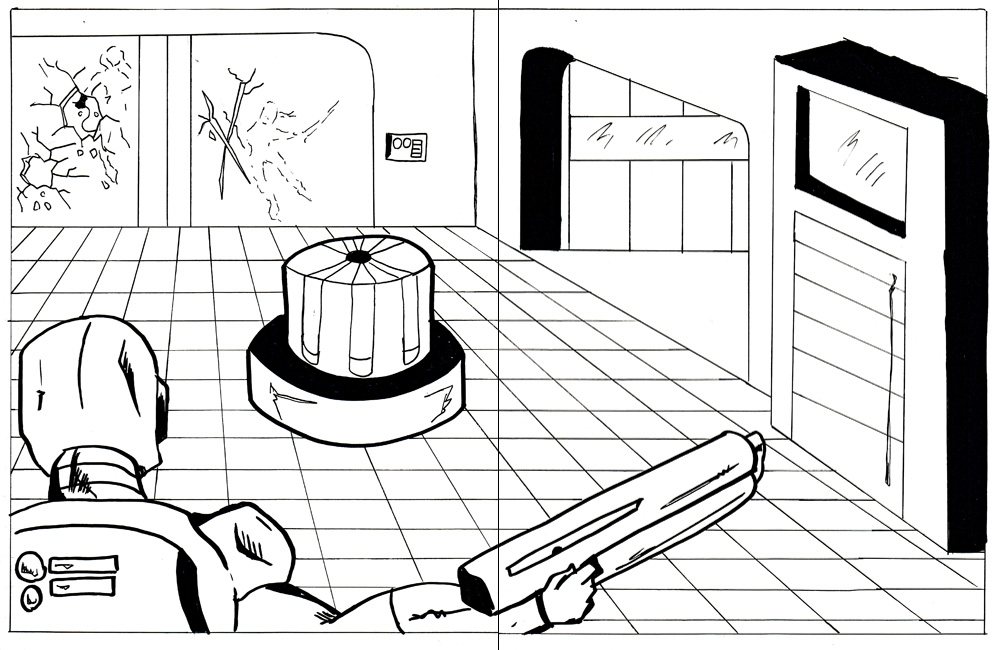
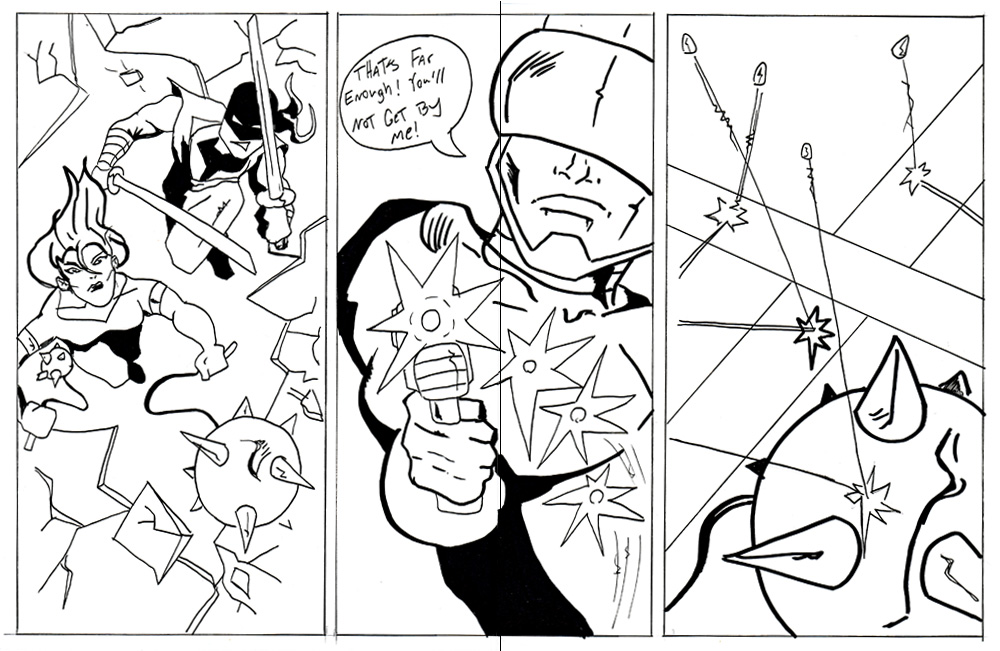
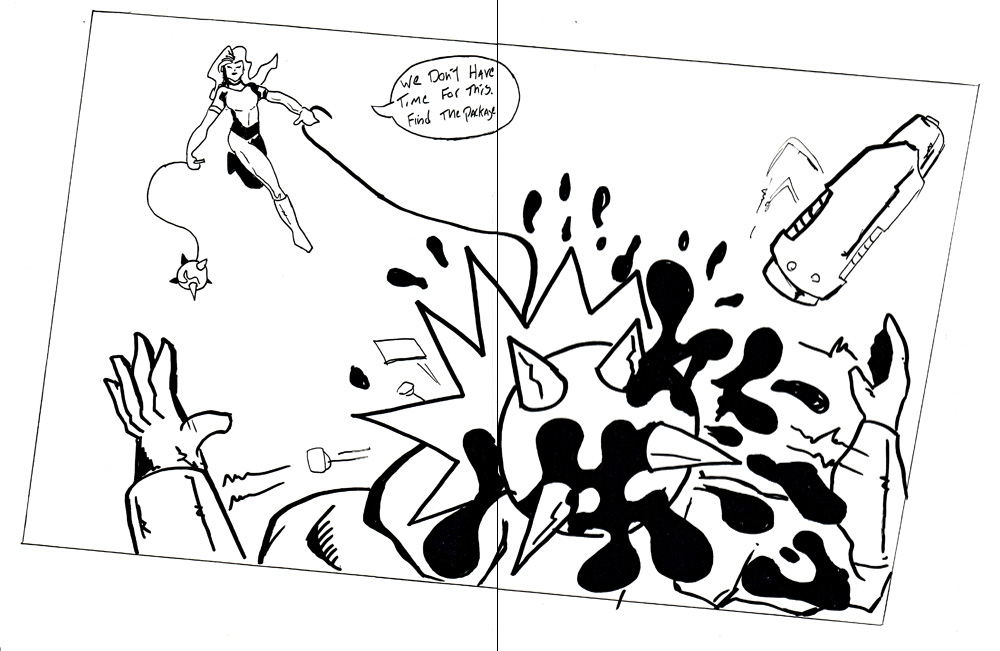
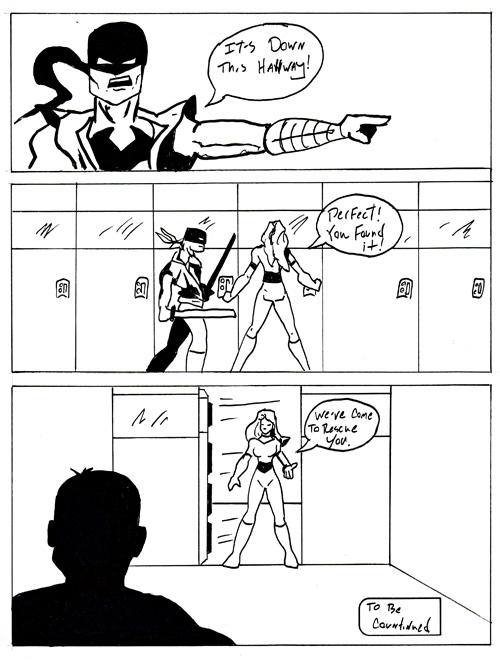
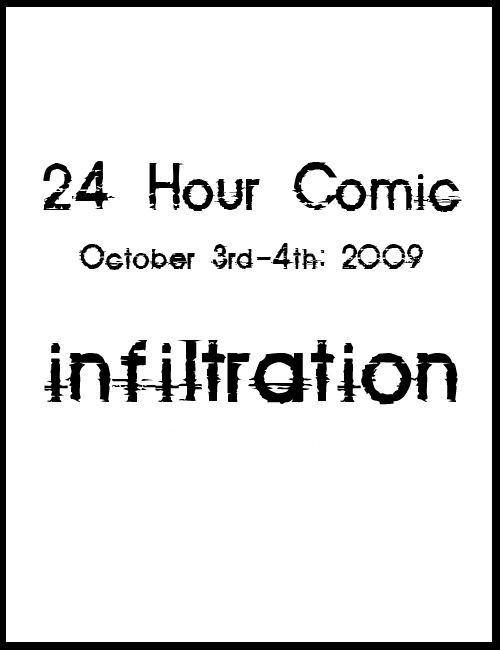
So here it is, my 24-Hour Comic entitled “infiltration” written, penciled, and inked by me in 24 hours and 57 minutes on October 3rd to 4th, for the 2009 24-Hour Comics Day! I did my pages with widescreen panels, I think it adds a significant element to the storytelling.

This blog post was originally published on my former website, Comic Book Graphic Design and has now been migrated here to RSC Arts, Artist Blog.
24 Hour Comics Day 2009 – Part 2

24 Hour Comics Day 2009 – Part 2

The Half-Way Point!
Participating in 24-Hour Comics Day. Here I am 12 hours into the challenge. Not as far ahead as I had planned. But still having fun. I originally planned to have the comic done within the 1st 12 hours. I’m actually on pages 6 and 7 at this point. Not even the halfway mark. I honestly didn’t think I would finish, but I knew I wasn’t going to give up. (I did finish the 24-hour comic, at exactly 11:57 am…. with 3 minutes to spare.)

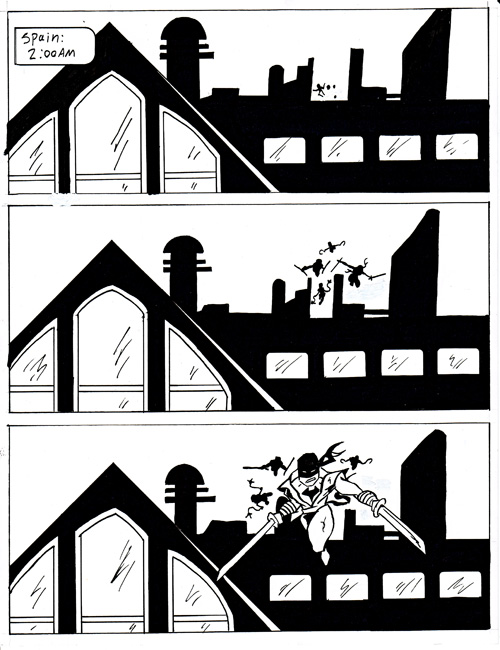
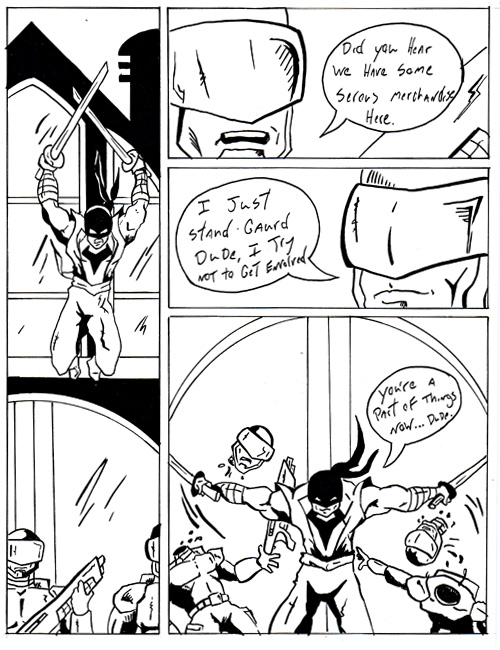
As I started to fall back on the pages and the time was moving forward, I thought what can I do to catch up and finish? I decided to work on pages very similar to Marvel Comics’ new format of widescreen comics. That’s where you place your panels stretched out through 2 pages. Like several widescreen shots. Marvel’s title Dark Avengers is very well known for this.

Once I decided to use this technique I was able to catch up. It gave me a great opportunity to create some very dynamic angle shots. Once I gained my confidence that I could finish the comic the story just flowed out of me. It’s full of action and fight scenes. It was really a fun comic to do. The story ends up with soldiers, ninjas, villains, and even a giant monster.

This blog post was originally published on my former website, Comic Book Graphic Design and has now been migrated here to RSC Arts, Artist Blog.
24 Hour Comics Day 2009 – Part 1

drawing a 24-hour comic page

24-Hour Comics Day 2009 – Part 1

This year I participated in 24-Hour Comics Day again. It was held from October Saturday the 3rd to the 4th. I had such a blast with it last year that there was no question I would do it again. The goal is to create 24 comic pages in 24 hours. It’s a very challenging exercise. You come to the table with no idea of what you are going to write and draw, and from there you create a 24-page story.

I decided to stay home and work on the 24-hour comic on my drawing table. I was committed to participating no matter where I did it. The first few hours were tough, the year before I created my 24-hour comic with the help of my girlfriend as my inker. This year I was working completely solo. I was finding it hard to find a fast rhythm. I was really digging what I was coming up with, but I was just a little slower than I originally wanted to be.

This blog post was originally published on my former website, Comic Book Graphic Design and has now been migrated here to RSC Arts, Artist Blog.
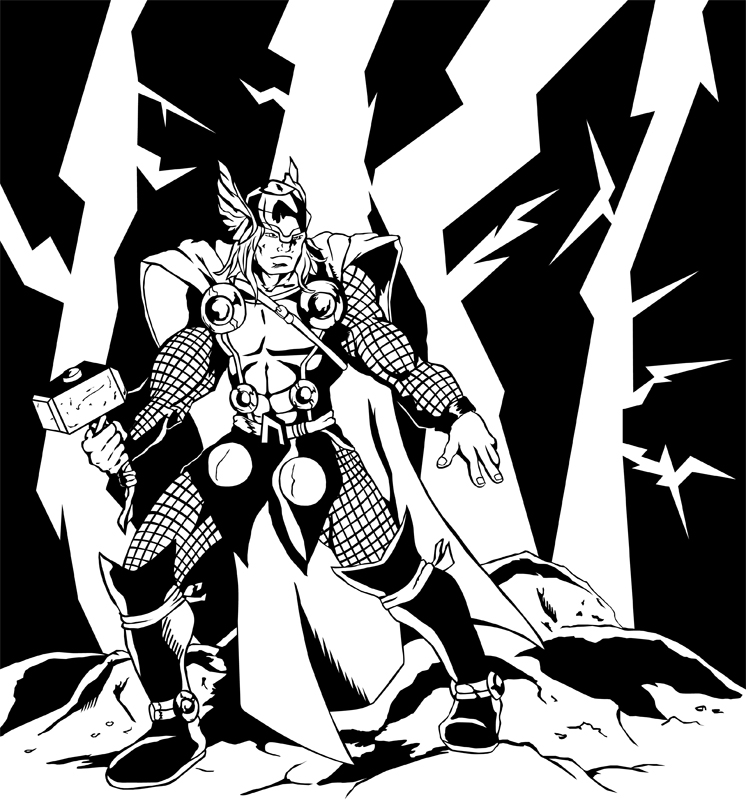
Thor Digitally Inked in Adobe Illustrator

Thor digital Inked in Illustrator

Thor Digitally Inked in Adobe Illustrator

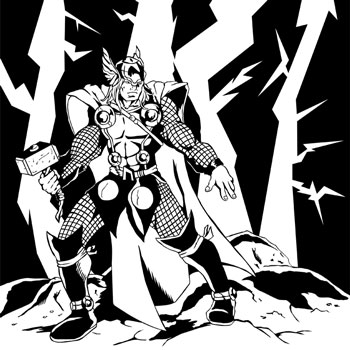
Here are my digital inks of Thor, the God of Thunder. He’s one of  Marvel Comics’ main characters. A founding member of the Avengers and actually in the very first comic book I ever read. This is the new costume he’s wearing in his new monthly title.

This was a pencil drawing of Thor I did last week. It was a quick drawing using an HB woodless Ebony pencil.  I traditionally use an H6 pencil for light-tight penciling. For this, I actually was able to achieve good detail with the softer lead. It’s good to get out of your comfort zone and try different drawing tools.

I inked this drawing digitally using Adobe Illustrator. I didn’t do it in one sitting. I took my time and did it in small spurts during the week. (Usually watching a Netflix movie on the side). I’ve only just recently started inking my drawings on the computer, which is ironic because being a Graphic Designer for over 10 years you’d think I would have done it years ago.

I like using Adobe Illustrator for inking, I know a lot of people use photoshop which is a great software too. The reason I use illustrator is that I like saving my inks as a vector images. Vector images are great because there are no worries about pixelation. They are always super high resolution even if it’s reduced or enlarged.

For this inking, I only used the pen tool with my mouse or Wacom tablet. It helps to give me the look I want to achieve. I like the sharp edges and thick to-thin lines I get with it. There’s an amount of control I feel I have with the pen tool. I think in my next digital inking I will use only the bush tool. Like I said earlier it’s always good to try different tools. I plan on coloring these inks in the near future using Photoshop.

This blog post was originally published on my former website, Comic Book Graphic Design and has now been migrated here to RSC Arts, Artist Blog.
Privacy Policy - Terms and Conditions

Copyright © 2000-2025, All rights reserved unless otherwise noted herein.